I wanted something round, I don't have anything round for a table topper. Pa-roused the internet and was looking at a lot of Dresden patterns. I finally found a free pattern that had rounded edges instead of the "feather" type edges.
I divided the pattern for the (I will refer to them as fans) fans into 3 different sizes. These are the 3 fabrics for the table topper........
Sewing the pieces to each other to form a "fan".......
Laying out the pieces sewn to determine how many I need ...
The best laid plans sometimes just needs to be tweaked .... I just laid a full "fan" underneath and marked it and added 1/4 inch to each side for seams ...................
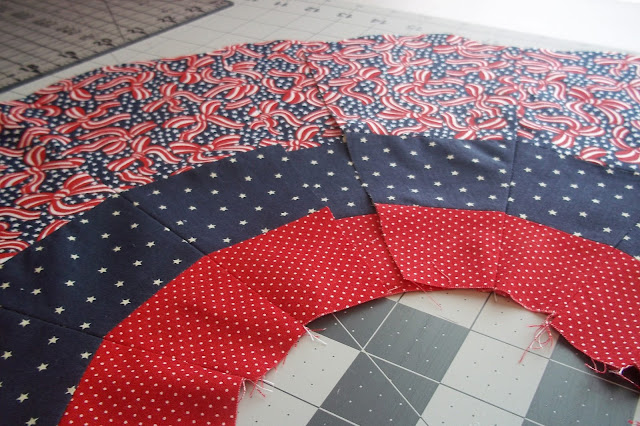
This is the size of the "fan" that needs to fit to make it a circle ............
Did it, everything matches, which is a miracle in itself for me ......... A little circle to go in the middle!
Determining how much batting I need ...................
Batting on the bottom, the backing on top of the batting right side up with the fabric of the topper ..
Everything trimmed and ready to sew ...................
Almost there ........... need to turn it right sides out and attach the circle to the middle ..........
Finally .......... done! From start to finish completed in a weekend. Hand quilted ... always like the way hand quilted things turn out after washing and drying.
Back view ........ Now I have 2 different table toppers ........."THAT WAS EASY"
I have to make a list of holidays I can make some more for ...... you know you can get 2 for 1 when you do it this way. lol
I finally posted an update to my other blog. Stop on by and see what it is.
http://theloyalunionsampler.blogspot.com
Again, thanks for stopping ..........


Love this. thank you for sharing.
ReplyDeleteCarolyn B
Double duty for this cute table topper! Thanks for sharing the tutorial.
ReplyDelete